Publishing7 steps · November 6, 2026
Learn Meta ads and run your first boost
What an ad account, a pixel and a boost are, what reach, CPM, CPC, CTR and ROAS mean, how to read Ads in Postfolio, and a first boost step by step.
01
Read the guide first
Learn Meta ads explains every word and number in plain language, with worked examples. Open it from Ads › Guide, from What does this mean under any number, or at getpostfolio.com/learn/meta-ads before you add Ads.
Learn Meta ads →02
Add Ads
Open the account menu and choose Ads under Switch to. Ads is $49 a month on any plan. What the ads spend is paid to Meta from the brand’s own ad account.
03
Connect the brand’s ad account
In Ads › Settings press Connect, sign in with the Facebook account that manages the brand’s ads and pick its ad account. Add the Meta pixel if the brand sells online, so purchases show.
04
Pick a post that already works
Overview puts each post’s Instagram numbers next to what it cost and sold as an ad. Start with a post people saved and shared, and press Set it up, or Boost on a live post in the Grid.
05
Set the goal, budget and audience
Purchases, Traffic or Reach; a small budget for 5 to 7 days; people around the shop, a saved audience or a lookalike. The sheet shows what each choice means.
06
Send it
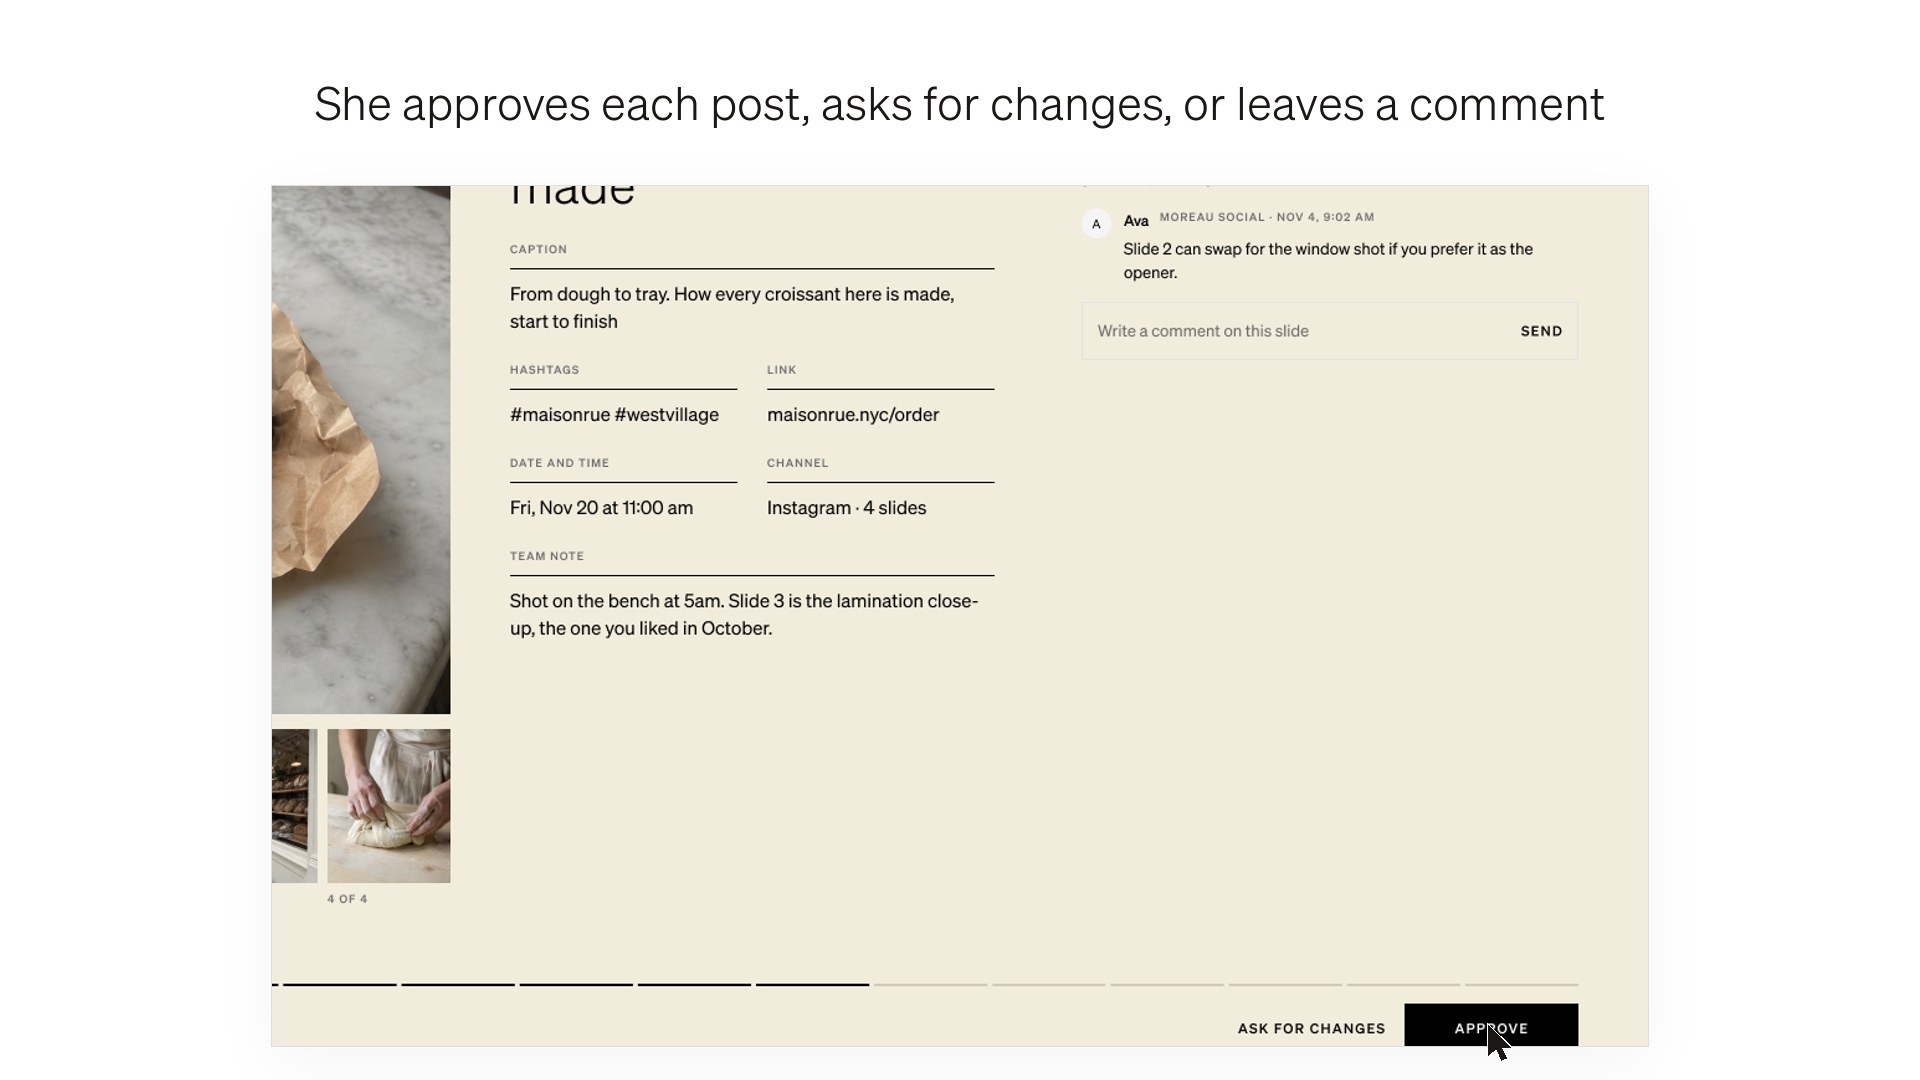
When the client approves ad spend, it goes to their Approvals and email with the amount on the button, and nothing is spent until they approve. Otherwise Start now sends it to Meta, which reviews every ad, usually within a day.
07
Read the results
After three days, look at CTR and then cost per result in Campaigns and Overview. Plan suggests what to scale, boost or pause next, from your own numbers.
Next tutorial
 Present a plan or report to your client →Clients and approvals · 54 sec
Try it in Postfolio
Open Postfolio and follow the steps.
New to Postfolio? Every plan is $10 for the first month.
Still stuck? Write to us or book a walkthrough.